Why record with GarageBand?: If you’re looking to make new music without having to work with a lot of complicated features and hassle, you have come to the right place. Whether it is a full blown sound track or just a little rhythm you’re working with on the road, with GarageBand you can put together your very own beats from scratch in a few easy steps. In this article, we will learn around tracks, let’s start:
How to record a basic track using GarageBand?
When you open up GarageBand and choose a brand new project, the first thing it’ll ask you to do is to choose a type of track – Software instrument track, Audio track (that lets you record using a microphone or connect a guitar or bass) and the drummer track. For the purpose of this tutorial, we’ll be working with software instrument to create a basic track.
Watch this tutorial to understand the basics:
STEP 1: Starting with Recording-
– Select the software instrument and hit CREATE.
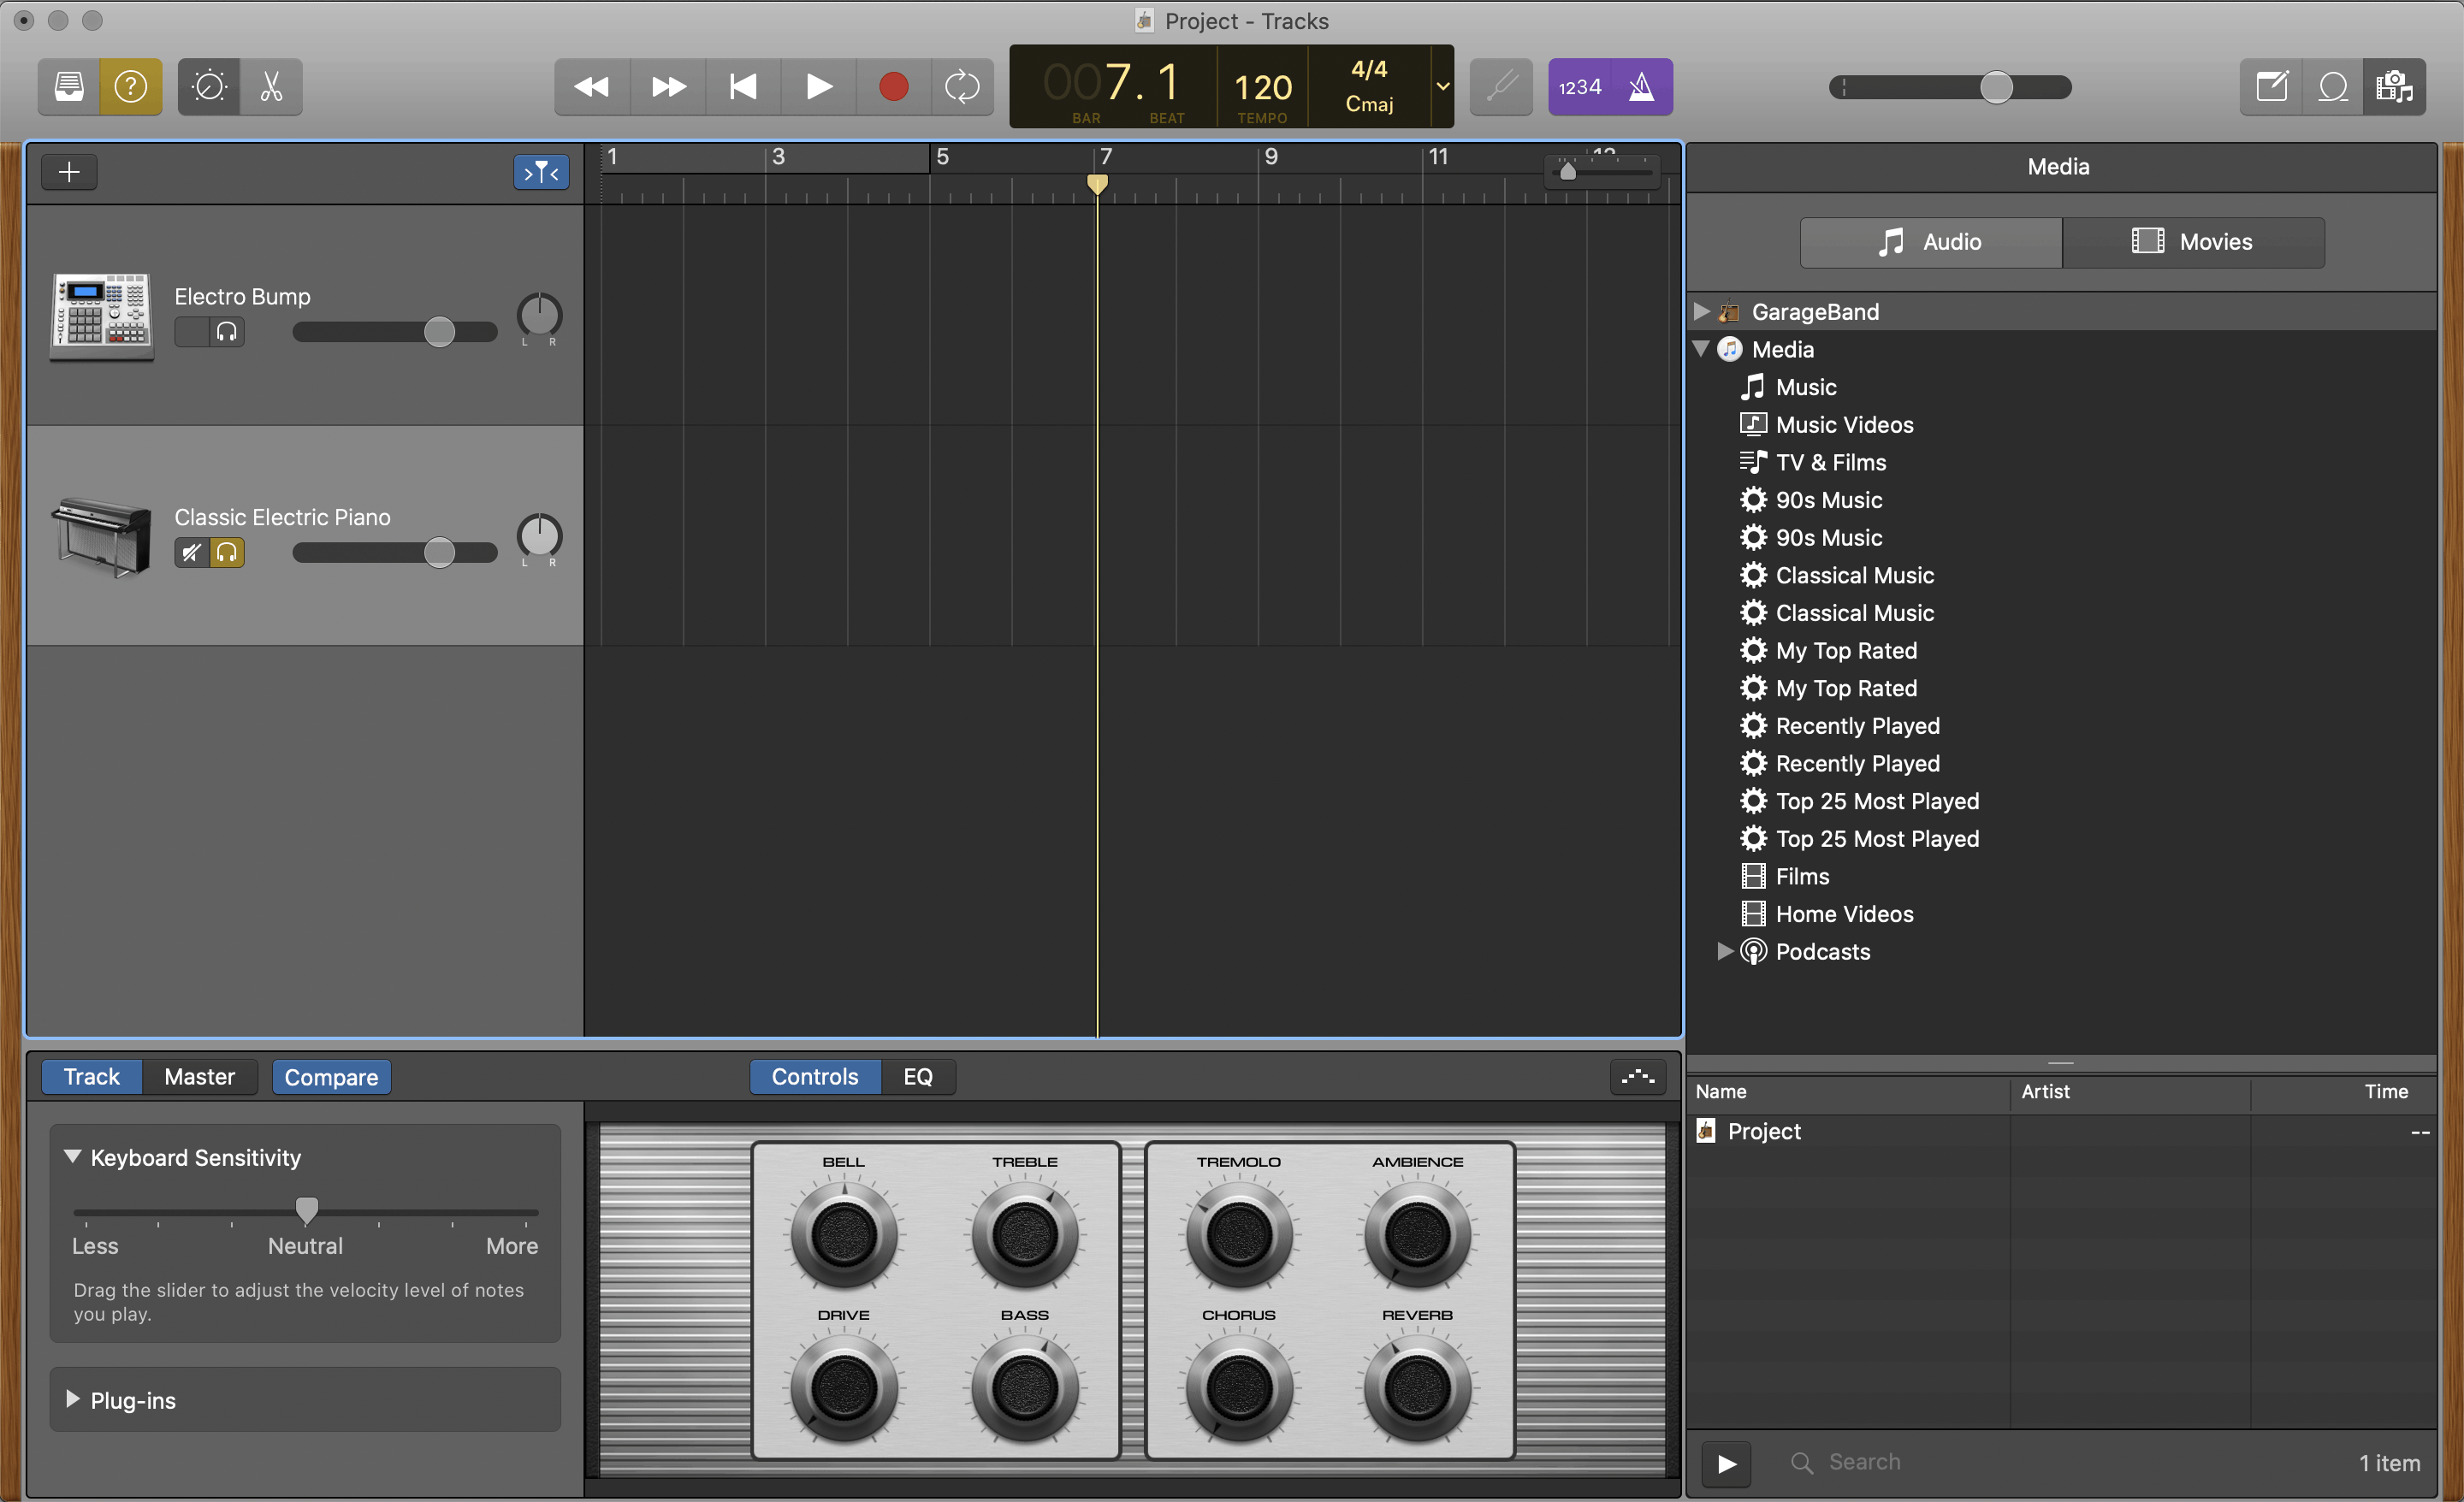
– This will open up the track creating workspace, here you’ll see a panel on the left called library, and a panel on the bottom. For now, Close the library panel and the smart controls by clicking on the library button in the extreme top left, and the third icon from the top left, to increase your workspace.
– Now Let’s begin with the classic Electronic piano- Click on the record button, (the red dot at the top window). First you’ll hear a 1, 2, 3, 4 after which you can start playing on your MIDI controller.
– Once you’ve played your beat, click on the record button again to stop recording. You can check out what you’re recording sounds like by clicking on the play button next to the record button.
STEP 2: Move to Editing-
After recording a beat, it’s time to edit it to make your notes sound more coherent and less separated. Remember that you’ll have to repeat these steps for all the beats that you add to your track.
– Click on the fourth icon (a little scissors icon) from the top left to open the editor’s panel. You can also hover over the icons to figure out the keyboard shortcuts for those commands, to save time in the future. E is the shortcut for the editor’s panel.
– Select all your notes on the editor’s panel by dragging the cursor over them and extend the notes by dragging the edge of any one of them.
– You can also zoom in to make sure that none of your beats are ahead or lagging behind the beat. To fix that you can click on the small button on the left, under the ‘Time Quantize’, which is gonna quantize your notes to the grid.
-To change up the voicing on your chord progressions – select the note that you wish to work with, and transpose it up or down on octave. The keyboard shortcut for this is: shift+cmd+up/down arrow
– You can also open the smart controls, by clicking on the third icon at the top left and try different combinations of these controls, by adjusting the knobs to change the sound of the electric piano to get a slightly psychedelic sound if that’s what you’re after.
– To fix the tempo of the track you can simply adjust it from the tempo option in the top window to make sure your track is not dragging or ageing.
– To adjust the volume of any track, use the slider on the left panel right under the name of the instrument
– The pan control next to the volume slider is used to pan the sound to the left or right hand speaker exclusively.
STEP 3: Let’s add more tracks
– Go to the plus button above the classic electric piano option to create another track.
– When the track type window pops up, click on the Software instrument and select create.
– To pick an instrument other than the electric piano, you can choose one from the library panel on the left. For example, click on the synthesizer option and choose the bass from there to select the synth bass that you want to work with, for example – the agile synth bass.
– Record another beat by clicking on the record button and playing the beat on your midi controller. Once again, you will need to quantize the notes.
-Repeat this to add as many software instrument beats as you want to and quantize them.
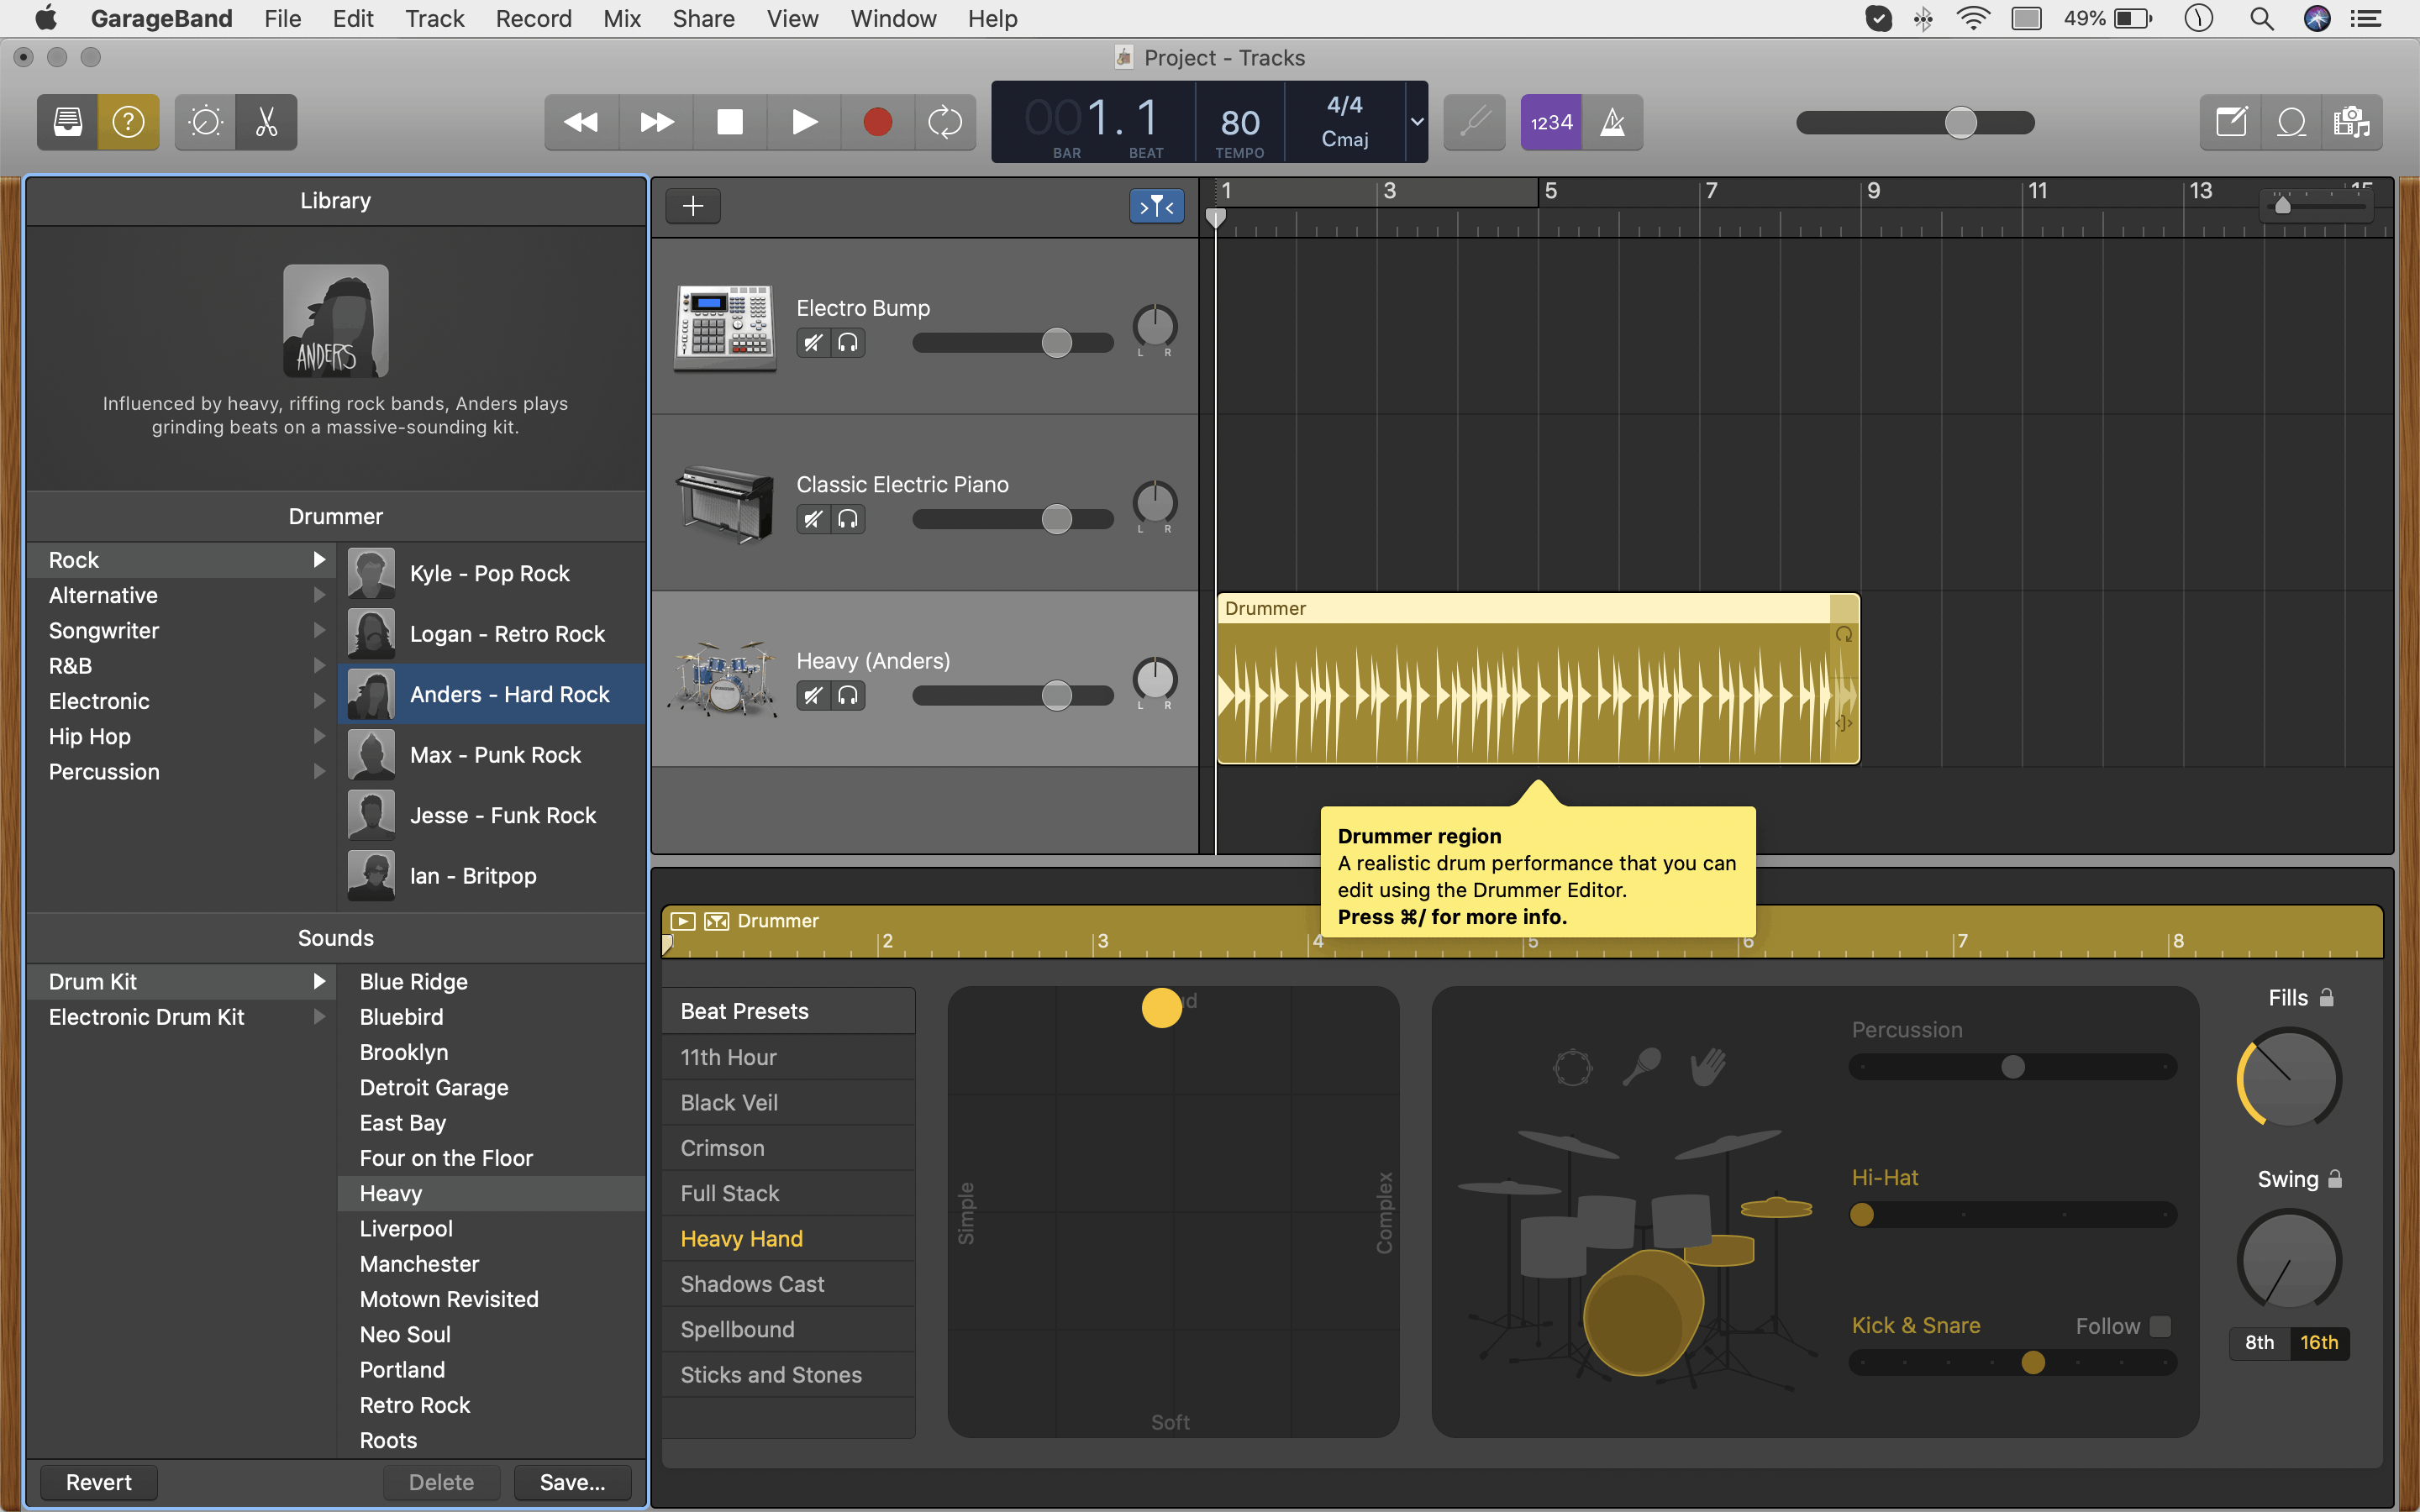
Once you’re done with your basic beats, you can layer up some of these with drum sounds to make it sound fuller and punchier. For that:
– Create a new instrument track and record and quantize a drum beat.
– Once you’ve found the perfect drum background you can record just a one bar pattern and loop it to fit the length of your track. To loop a note, hover your cursor over the edge of the note and then drag the loop button till the end of the track
How to mellow down your kick drum sounds?
– Select the drum note.
– Open the smart controls panel and click on the EQ option.
– In this window, go to the top right hand corner and grab the high cut filter and drag it down depending on how mellow you want the drum sound to be.
How to add pre-recorded Apple loops?
You can also add loops and audio from the apple loop library to your track without recording them. To do so:
– Open the loop library by clicking on the second loop icon on the top right, start.
– Here you’ll find thousands of pre recorded loops and audios categorised on the basis of different genres, moods and instrument.
– Click on different loops to check out what it sounds like and once you find a loop that you like, you can simply drag and drop it to your workspace where it says ‘Drag apple loops here’.
– You can add as many pre recorded loops as you want. You can also use the smart controls on these loops to do a little mixing and work with the EQ to make sure the loops go with your original beat.
STEP 4: Learn Arranging-
Once you’re done recording and editing, it’s time to arrange the track. Usually you would want to work with an intro, a drop and an outro. Drag and move around the beats to place them wherever they are needed in the arrangement.
– It’s better to start with the electric piano and the bass and the lead part, and have them loop over a few times.
– Add the snare and 808 clap sounds midway through the buildup to add to the sense of building.
– Now place the drop beats after the buildup, and have the bass and lead part going throughout the drop and maybe throughout the outro as well.
– To bring back a beat after a break, you can click on alt and drag it to a new region to copy the beat.
Read this before choose the right music recording & editing app?
The answer to all your whys is simple and straight, Not every editing app in the market keeps up with everything new the creative brains bring in. Talk about transitions, there are literally 2000 and you need to find them all in an app and at one place, if you sign up and pay for one editing app. You cannot just dive in and buy anything random, be specific, know what you need exactly and then invest smartly. Sometimes, what you think is good for you or is popular on the market, might not be the right choice for you.
Making music in this fine era:
Technology is blooming. A little more than a decade ago, if you wanted to make music, you would have to rent a studio, expensive equipment, and get professional training to manoeuvre the equipment. Needless to say, it wasn’t easy on the pockets. Then tech giants did their thing and gave you audio stations on your desks, laptops, iPads, and even your phones. A decade later, anyone can mix sound professionally without the studio and co. With the boom of the digital audio workstations, with different options offering different features on different budgets, it has become extremely important to choose just the right DAW for your specific needs, to maximize utility.
With great options comes great confusion, and it can be quite a task to find your soulmate DAW. Here are a few tips to guide you find your best suit:
Do your research:
The best way to start is research. Always research. Talk to as many people as you can who already do the type of work you’re looking to pursue. Read reviews and take feedback from current users of applications that you’re considering. Having said that, know that you are not bound to take up anyone’s suggestion. Something that works for one person might not exactly be favourable by some other. Allow yourself to have preferences, and always prioritise the features that are essential for you.
Hold the big bucks:
If you’re just starting out in the music industry, and unsure of what to expect from DAWs, don’t directly go investing in expensive and heavy plans. It’s wise to test the waters first with the most inexpensive, or if possible- then free, software. Start out with a set idea of what you expect from your ideal DAW and make a list of features, then look for the most inexpensive/ free software that offers most/all of those features. For example if you’re just starting out and are relatively untrained you might want to look out for applications like GarageBand that offer free lessons along with regular features, but if you’re a trained and experienced person and want to dive straight into hard-core work, then you may look for applications that offer more plugins, as opposed to prioritizing a more friendly user interface.
Keep in your mind:
- Take into account the operating system you’ll be using. There are different programs for Macs and PCs.
- Take into account the kind of device you’ll be using. Different software needs a different kind of processor speed and take up varying space in your hard-drive. Your computer needs to have enough processor speed and space to avoid frozen screens and glitches.
Try free demos:
Just looking at a list of features is not enough to give you an idea of how compatible you are with an application. The workflow and the design of these apps are as important as the primary features. So before you invest in software, try to get an idea of how well the program suits you. Most paid software offer a limited period free trial or demo. Try and make full use of it, and check out first hand how user-friendly the interface is, and how well the app is compatible with your needs and way of working. If you can’t lay your hand on a free trial/ Demo, try reaching out to someone who already uses the application and looks if it could be possible for you to have a trial run with them. Your best options will allow you to work swiftly and efficiently with limited or no help from the user instructions manual. If it feels natural and intuitive, go ahead and subscribe!
What are our editing app recommendations:
If you are absolutely unsure of where to start, here are a few recommendations you could try out-
- Free, for macOS, GarageBand for Windows
- Adobe Audition – Paid, for Windows and macOS
- Logic Pro X – paid, for macOS only
- Audacity – Free, for Windows, macOS and Linux
- Reaper – Paid, for Windows, macOS and Linux
- FL Studio – Paid, for Windows and macOS
- Ableton Live – Paid, for Windows and macOS
- Cubase – Paid, for Windows and macOS
- Oceanaudio – Free, for Windows, macOS and Linux
Here is a list of Alternatives of GarageBand.
Please write to us for any queries or questions. Thank-you for reading.