About GarageBand: The digital era has provided us with an array of music composing apps, choosing one music application which caters to all your needs is prudent. It has been years that I have been using this app for my professional music needs because of how smooth, accessible and professional but beginner friendly this app is, In Garage Band from app music, composition and production, everything is easier than you might think.
Without any major prior experience, trust me, you can hit your Garage Band app and make fantastic music without any cost or experience.
Key Features of GarageBand
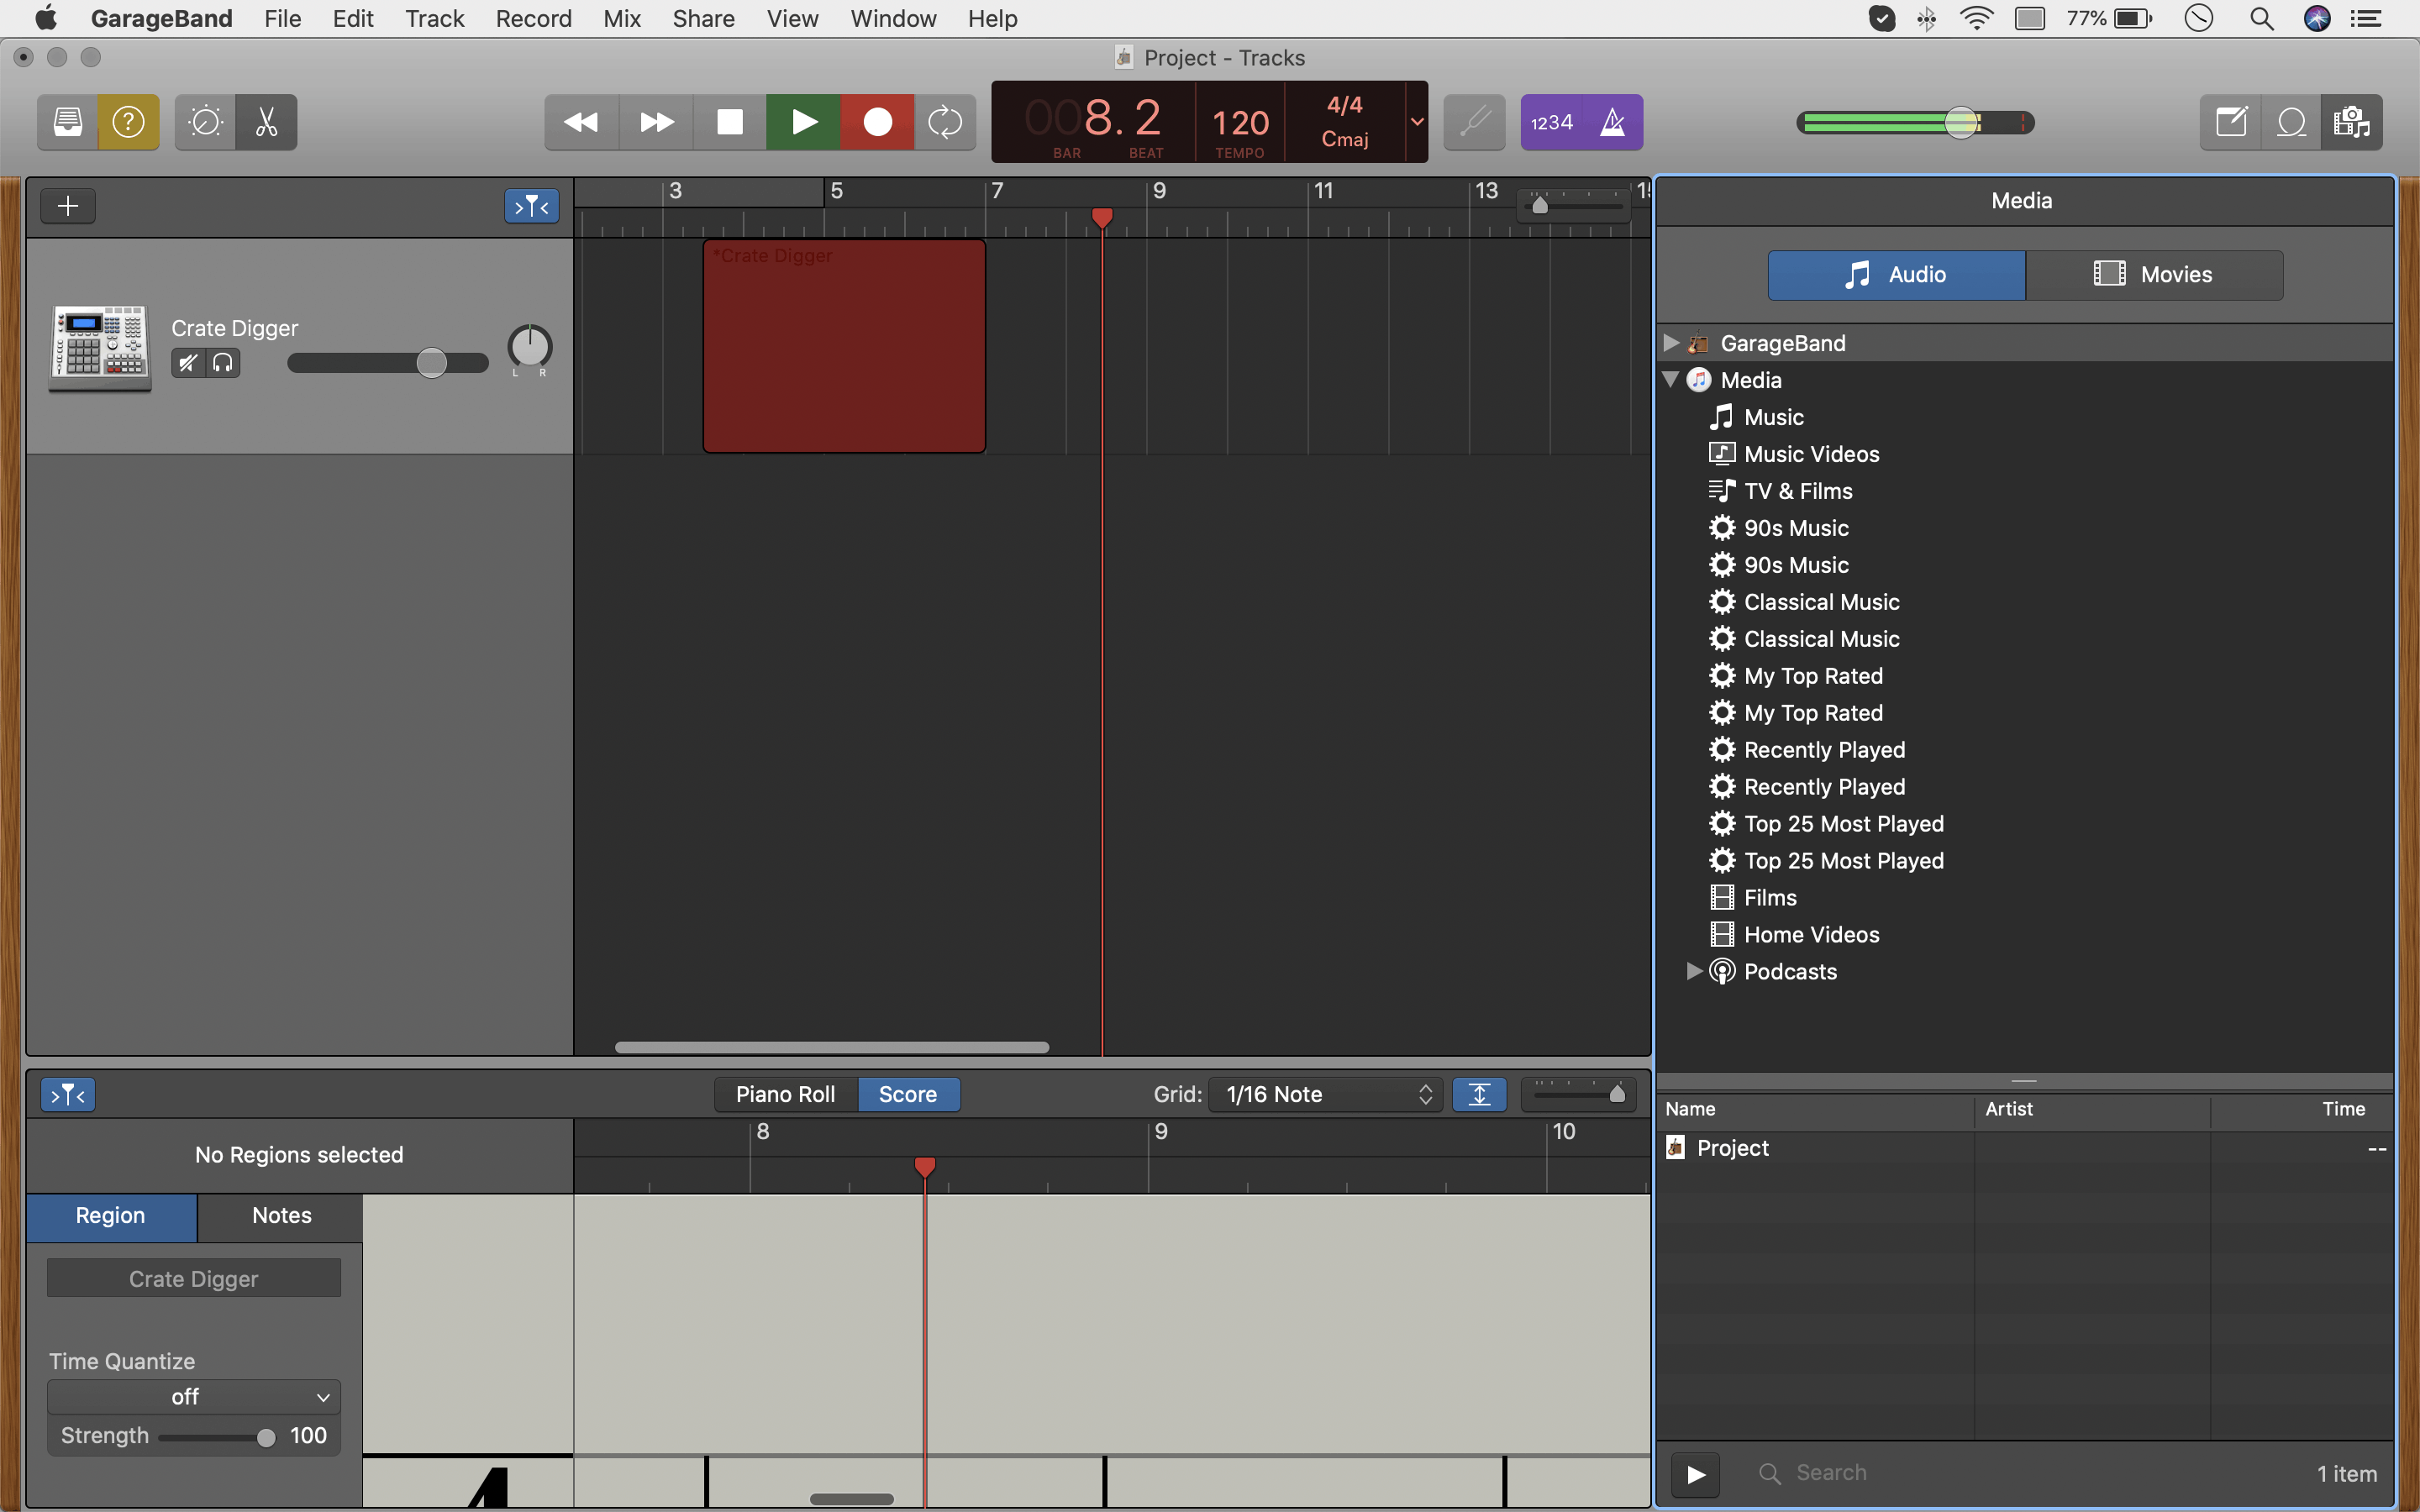
The main highlight about GarageBand for Windows is having music beats arranged as loops on the interface so the loops become easy to manipulate when arranging a song. Manipulating the loops with the control keys on your device according to your selected beats will lead to the production of your song. Garage Band comes with instruments of a symphony orchestra and Boldt packages which are useful in making films. Filmmakers can utilise this feature for quality motion images similar to those produced in a studio.
This app gives the producer the freedom to choose their beats. Moreover, the beats and effects produced by the app directly blend to most music genres, the musical rhythms fit with the popular music, most upcoming and experienced musicians have confessed to having used the app more than one time.
GarageBand also allows you to record multiple tracks with the flexibility to add fades and effects to improve the quality of your music. Moreover, it incorporates other real instruments such as the guitar or bass to add quality and impact to your music. The effects produced by a combination of real musical instruments combined with the loops add new flavour to music as the beats are unique. The app acts as a home studio and practice space for musicians who don’t have time to visit real studios or the money to pay producers.
Here are a few facts on why we recommend this music composing app over others-
- The interface is easy to use.
- The musical loops are easy to arrange with timers between loops. Moreover, the fact that the app blends well with other instruments for making music is an added advantage to experienced musicians and starters.
- It saves you time as you can produce music anywhere on the go or in your room!
- It blends well with most music genres which mean with a little manipulation will create your unique blended music.
New Features in GarageBand
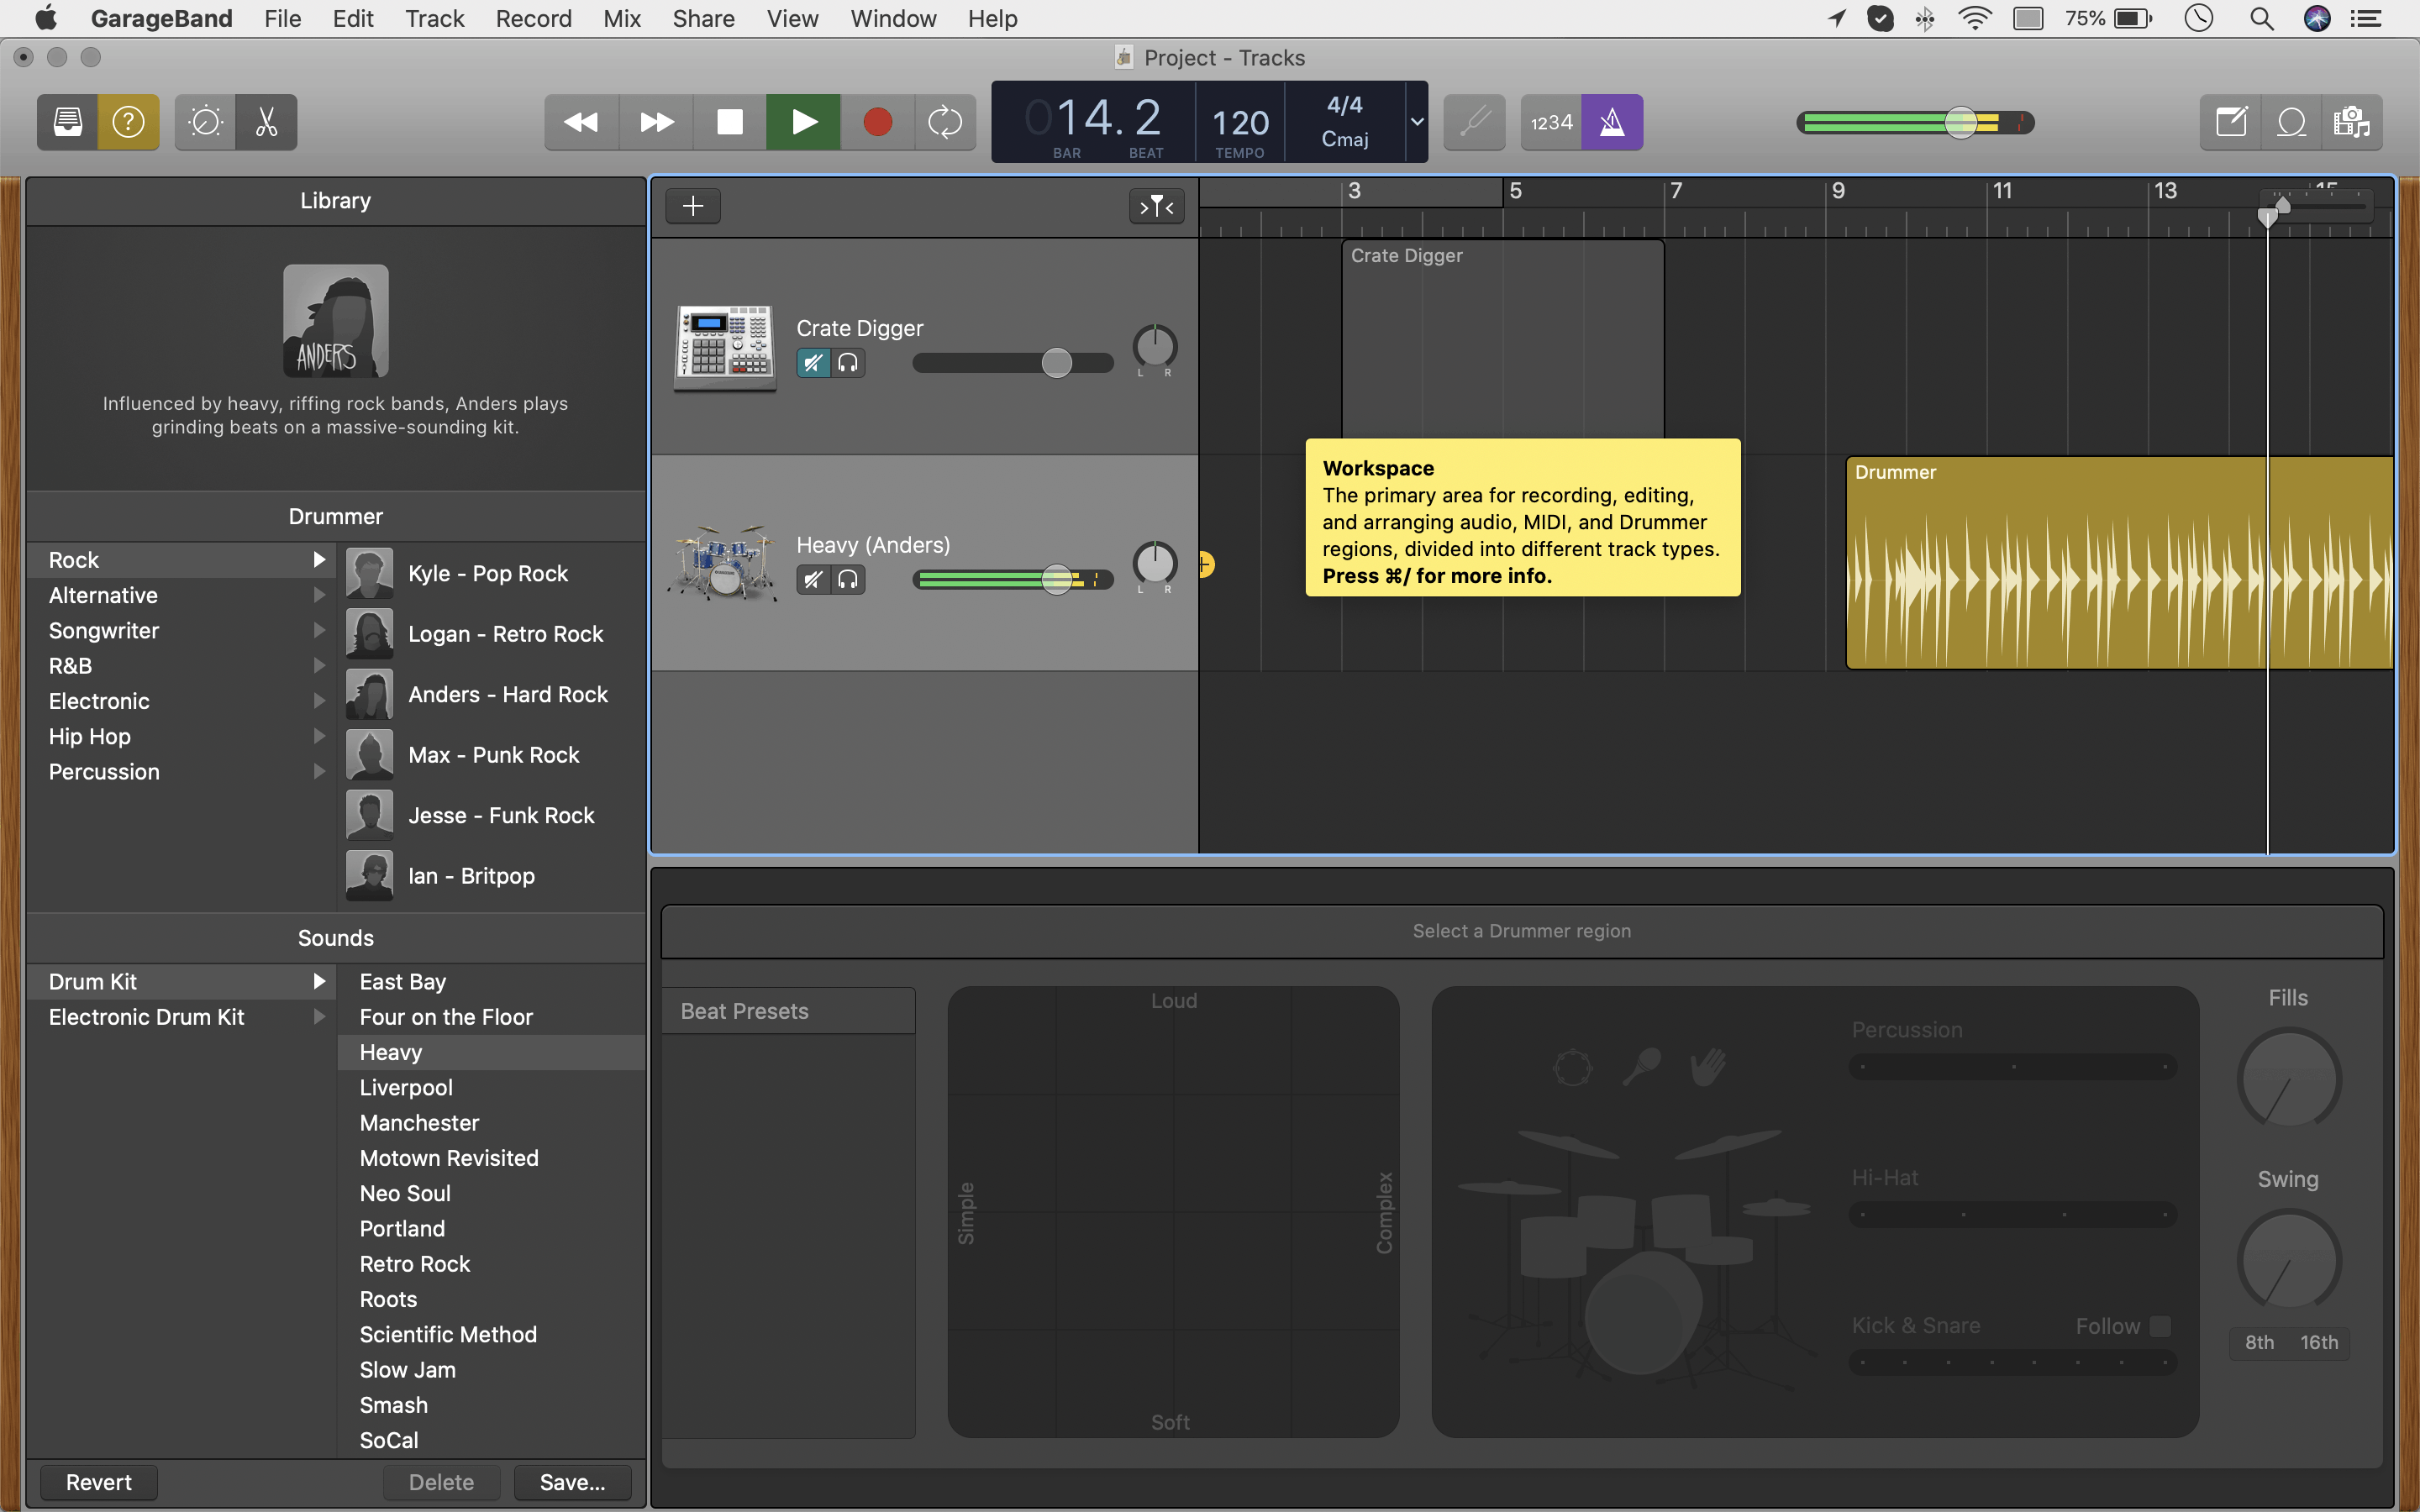
Apple improved the sound browser, making it further easy for the user to group the instruments intelligently. For instance, the “AMP” button helps in producing new, distorted, and bass guitar output. You will come across such arrangement for Strings and Keyboard. The update is lucid. However, there is further the possibility to refine the approach.
One of the weakest element of GarageBand was effects. The only available options were echo, reverb, and application of a compressor. However, the new update is providing a plethora of options from the menu. The EQ and plug-ins give you the possibility to add chorus, bit-crusher, and overdrive. Users receive granular control– separate sliders for the spread, pre-delay, high cut, reverb time, and wet or dry mix. The visual equaliser brought from the MAC version offers intuitive and tactile approach towards adjusting bass, treble, and gain.
The addition of Audio Units plug-in helps in processing the audio with ease. It was a standard feature in the MAC version. It is helpful in integrating effects and external instruments into GarageBand. Rather than choosing third-party applications to load the external instruments into GarageBand, the recent update allows you to ditch those and load them directly into the GarageBand application.
https://www.youtube.com/watch?v=qviTT9s0Fcc&feature=youtu.be&list=PLNI758ylrOkS0ZPbdXvmvGPY6BgY-4Aka
New Updates in OS- GARAGEBAND
The new update further added multi-take recording, offering an excellent opportunity for a songwriter to create a loop of a live recording, preview the recording, and ditch everything else except the one that the writer wishes to keep. It is helpful during a live recording of the instruments.
Two new features that Apple added to GarageBand are Logic integration and Notepad. The built-in notepad helps in using the same to portray comments or add lyrics. The Logic integration is worth mentioning.
With the professional application, one can listen to a song on the move, mix down a song, and add new parts to the same. Once you send them to Logic, you will be seeing them along with the new projects. That way you can work on them in the future.
Where do you start and Why?
GarageBand is an excellent application. It provides beginners and professionals an opportunity to create a perfect output at any time. The most noticeable gain that the app receives is in the form of synth sounds, improved controls, effects, integration of LOGIC, and AU. Users have an excellent opportunity to create music with ease right from their iPhone!
In this article, we will talk about the steps through which you can create a ringtone on iPhone using GarageBand. The procedure is easy and expects you to have the software installed on the device. All the latest devices arrive with GarageBand for free. However, if you are using an older iOS device, you require a license to activate all the features.
Where to Start?
https://www.youtube.com/watch?v=SUooAKggf8c
Start by creating a ringtone for your phone VIA GarageBand!
Step 1: Launch the application on your iPhone. To start creating quickly, tap the “+” sign at the top right side of the toolbar.
Step 2: Create the sound, beat, or tone that you want to use as a ringtone. You can generate anything as long as it does not cross the 30-second mark.
Step 3: You can use available songs from the device. You need to record something upfront to gain complete access to the editor. You can now head to the project overview. From here, you can import the song from the music library. After importing, you can delete the recorded music.
Step 4: From the toolbar, choose the Loops button. From this, you can select the audio source – it can be iPhone music library or an audio file sourced from the iCloud drive. Tap on the song to preview the same before you can drag and drop it to the editor.
Step 5: A ringtone has 30-second duration. Use the split and trim feature to choose a particular section of the song. Now that you completed the split or trimming the song, you need to save the track as a ringtone. Unfortunately, you cannot save it directly from the user interface. You need to head back to the “My songs” section.
Step 6: Use the recent tray to bring the edited song. Long press the same to open menu options and tap “Share.”
Step 7: Choose “Ringtone” rename the file, and tap “Export”.
Step 8: Wait until processing is complete, it may take a few minutes.
Step 9: From the setting app, you can head to the Sound feature. The custom ringtone will appear here, and you can assign it as standard or set it for a particular contact.
WE HOPE IT HELPED, SHOOT US FOR YOUR QUERIES!